Setting up Kubernetes (via k3s) in Proxmox Container
Set up Proxmox LXC container as a k3s host
- Some limitations of Kubernetes in LXC
- Nested virtualization complexity: You’ll be running containers (Docker) inside a container (LXC) that’s running on your Proxmox host, which adds layers of complexity.
- Kernel limitations: The LXC container shares the host’s kernel, which might cause issues with some Kubernetes features that rely on specific kernel modules or settings.
- Resource isolation: The additional nesting can make resource management more challenging.
- Resources for Small Network ECK
- Minimum System Resources for ELK on Kubernetes (Small Network)
- CPU
- Minimum: 2 CPU cores
- Recommended: 6 CPU cores
- Elasticsearch and Logstash are the most CPU-intensive components
- Memory
- Minimum: 6GB RAM
- Recommended: 16GB RAM
- Elasticsearch needs at least 2-4GB to function properly
- Storage
- Minimum: 100GB
- Recommended: 200GB+ SSD storage
- Log data accumulates quickly, even on small networks
- SSD storage dramatically improves Elasticsearch performance
- Network
- Standard gigabit networking is sufficient for a small deployment
- Resource Distribution
- For a minimalist deployment:
- Elasticsearch: 2GB RAM, 2 CPU cores
- Kibana: 512MB RAM, 0.5 CPU core
- Logstash: 1GB RAM, 1 CPU core
- K3s/Kubernetes overhead: 1-2GB RAM, 0.5 CPU core
- Filebeat/agents: Minimal impact
- For a minimalist deployment:
- Scaling Notes
- You can start with these resources and scale up if needed
- Consider log retention policies to manage storage growth
- If you enable features like anomaly detection or machine learning, you’ll need more resources
- This modest setup will be sufficient for monitoring a small network with basic security and observability capabilities. The beauty of Kubernetes is that you can easily adjust resources as your needs evolve.
- CPU
- Minimum System Resources for ELK on Kubernetes (Small Network)
- Create the container with these settings:
- Unprivileged container: No
- Nesting enabled: Yes
- Template: Ubuntu 24.04 or current LTS
- Disk
- rootfs:
- This is the drive used for kubernetes and fast immediate storage (e.g., Elastic hot)
- Use SSD/NVME
- size: 200GB+
- mp0,1,2,…:
- These are optional drives used for slower storage (e.g., Elastic cold)
- You can add these later, or using the
.conffile - You are responsible for adding this using your storage medium of choice
- rootfs:
- Cores: 6
- Memory: 16GB
- Network: your choice, I use DHCP and a static lease on my DHCP server
- Don’t ‘Start after created’
- Add the following lines to the newly created container’s
/etc/pve/lxc/<container id>.conf:- Warning: These settings essentially create a privileged container with nearly full access to the host system. This configuration is necessary for running Kubernetes in LXC because K3s needs access to various system resources and kernel features, but it significantly reduces the security isolation between the container and your Proxmox host.
lxc.cgroup.devices.allow: a: Allows the container to access all devices on the host system.lxc.cap.drop:(empty): Retains all Linux capabilities, giving the container extensive privileges.- Depending on your system, these may be needed if you have issues running k3s. Don’t add these unless necessary:
lxc.mount.auto: "proc:rw sys:rw": Mounts the proc and sys filesystems with read/write permissions. This should be handled byfeatures: nesting=1lxc.apparmor.profile: unconfined: Disables AppArmor restrictions, giving the container full access without security confinement. This may overridenesting=1
- Start your container and enter its shell
Install k3s
-
Reference: k3s quickstart
  curl -sfL https://get.k3s.io | sudo sh -s - --write-kubeconfig-mode 644

  echo 'export KUBECONFIG=/etc/rancher/k3s/k3s.yaml' >> ~/.bashrc
  source ~/.bashrc
Install cert-manager
- Reference: cert-manager docs
- This k8s operator automatically provisions, manages, and renews TLS certificates from various certificate authorities like Let’s Encrypt.
- This is necessary if you want to use valid let-encrypt TLS certs even on your LAN.
- I have LAN-only subdomains for kubernetes, such as *.k8s.my.domain.brd.la -
- My LAN DNS server manages all internal LAN DNS queries
- Cert-manager manages all my internal certs using DNS01 with a cloudflare key and letsencrypt
- Install cert-manager:
  kubectl apply -f https://github.com/cert-manager/cert-manager/releases/download/v1.17.0/cert-manager.yaml

  # Confirm
  kubectl get pods -n cert-manager
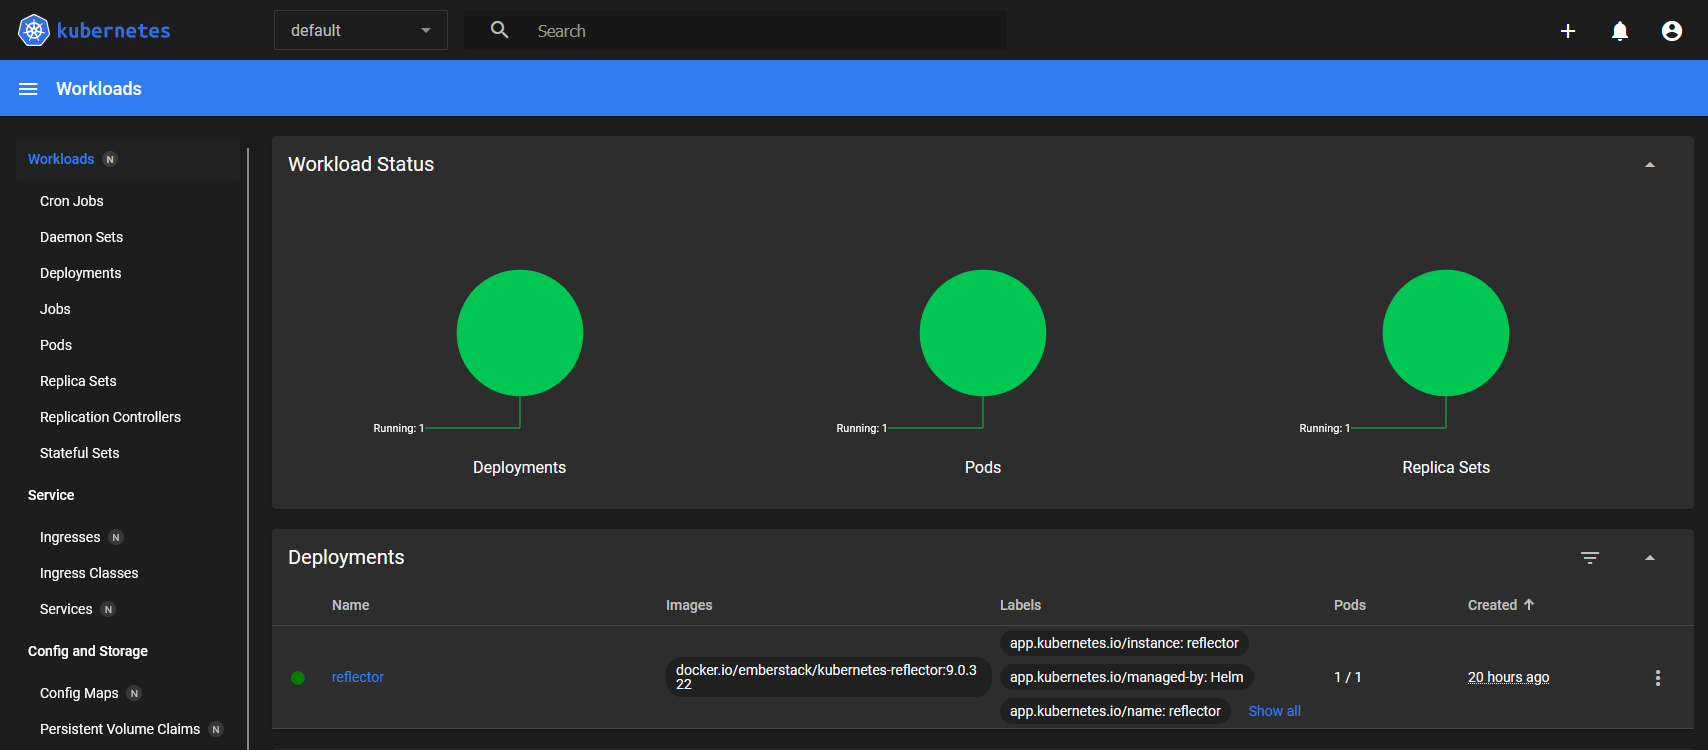
Install Reflector
- Reference: reflector docs
- Reflector makes the TLS certs available in different namespaces
helm repo add emberstack https://emberstack.github.io/helm-charts helm repo update helm upgrade --install reflector emberstack/reflector - Configure wildcard certificate - https://kubernetes.io/docs/concepts/configuration/secret/
- Get Cloudflare API key with:
- Zone:Zone - View
- Zone:DNS - Edit
- Add Cloudflare API key as secret:
kubectl create secret generic -n cert-manager cloudflare-api-token --from-literal=token=<USE API TOKEN> # Test that the token is stored kubectl get secret -n cert-manager cloudflare-api-token -o jsonpath="{.data.token}" | base64 --decode - Apply LetsEncrypt ClusterIssuer - uses ACME DNS01 to issue cert
apiVersion: cert-manager.io/v1 kind: ClusterIssuer metadata: name: letsencrypt-prod spec: acme: email: <YOUR LETSENCRYPT EMAIL ADDRESS> server: https://acme-v02.api.letsencrypt.org/directory privateKeySecretRef: name: letsencrypt-prod solvers: - dns01: cloudflare: email: <YOUR CLOUDFLARE EMAIL ADDRESS> apiTokenSecretRef: name: cloudflare-api-token key: token selector: dnsZones: - '<YOUR TLD ZONE IN CLOUDFLARE, e.g. google.com>'- Confirm with
kubectl get clusterissuers
- Confirm with
-
Apply Certificate
apiVersion: cert-manager.io/v1 kind: Certificate metadata: name: <SECRET NAME, e.g. wildcard-k8s-cert> namespace: cert-manager spec: secretName: <SECRET NAME, e.g. wildcard-k8s-tls> issuerRef: name: letsencrypt-prod kind: ClusterIssuer dnsNames: - "*.k8s.<REST OF YOUR DOMAIN>" - "k8s.<REST OF YOUR DOMAIN>" secretTemplate: annotations: reflector.v1.k8s.emberstack.com/reflection-allowed: "true" reflector.v1.k8s.emberstack.com/reflection-allowed-namespaces: "" # All namespaces, or list specific ones reflector.v1.k8s.emberstack.com/reflection-auto-enabled: "true" reflector.v1.k8s.emberstack.com/reflection-auto-namespaces: "" # All namespaces, or list specific ones- Confirm with
kubectl get certificate --all-namespaces - You may need to restart to get cert-manager to see the secret:
sudo systemctl restart k3s - When it’s ready, view the certificate:
kubectl get secrets wildcard-k8s-mordor-tls - View that it’s been propagated to other namespaces:
kubectl get secrets --all-namespaces | grep wildcard - Confirm the cert secret is in kube-system (where traefik gets it):
kubectl get secret wildcard-k8s-mordor-tls -n kube-system -o yaml
- Confirm with
- Set default Traefik cert:
  apiVersion: traefik.containo.us/v1alpha1
  kind: TLSStore
  metadata:
  name: default
  namespace: kube-system

  spec:
  defaultCertificate:
      secretName: <SECRET NAME, e.g. wildcard-k8s-tls>
Install Kubernetes Dashboard
- Reference: Kubernetes Dash Docs
-
This step brings it all together to allow you to view and monitor your k8s node using your valid TLS certs
helm repo add kubernetes-dashboard https://kubernetes.github.io/dashboard/ helm upgrade --install kubernetes-dashboard kubernetes-dashboard/kubernetes-dashboard --create-namespace --namespace kubernetes-dashboard # Confirm kubectl get pods -n kubernetes-dashboard -
Create/apply ServiceAccount:
apiVersion: v1 kind: ServiceAccount metadata: name: dashboard-admin namespace: kubernetes-dashboard --- apiVersion: rbac.authorization.k8s.io/v1 kind: ClusterRoleBinding metadata: name: dashboard-admin roleRef: apiGroup: rbac.authorization.k8s.io kind: ClusterRole name: cluster-admin subjects: - kind: ServiceAccount name: dashboard-admin namespace: kubernetes-dashboard -
Create Token:
kubectl create token dashboard-admin -n kubernetes-dashboard --duration=8760h -
Create/apply Ingress:
apiVersion: traefik.containo.us/v1alpha1 kind: ServersTransport metadata: name: insecure-skip-verify namespace: kubernetes-dashboard spec: insecureSkipVerify: true --- apiVersion: traefik.containo.us/v1alpha1 kind: IngressRoute metadata: name: kubernetes-dashboard namespace: kubernetes-dashboard spec: entryPoints: - websecure routes: - match: Host(`<HOSTNAME TO ACCESS DASHBOARD, e.g. k8s.your.domain`) kind: Rule services: - name: kubernetes-dashboard-kong-proxy port: 443 scheme: https serversTransport: insecure-skip-verify - Confirm:
describe ingressroutes -n kubernetes-dashboard -
Test DNS with a temporary container - https://blog.derlin.ch/kubectl-run-spawn-temporary-docker-containers-on-kubernetes
kubectl run -it --rm test --image=alpine -- ash; # In alpine shell, check resolution for ingress: nslookup k8s.your.domain- If resolution doesn’t work, try changing the dns within k3s
- Log in to the Dashboard with your token from earlier